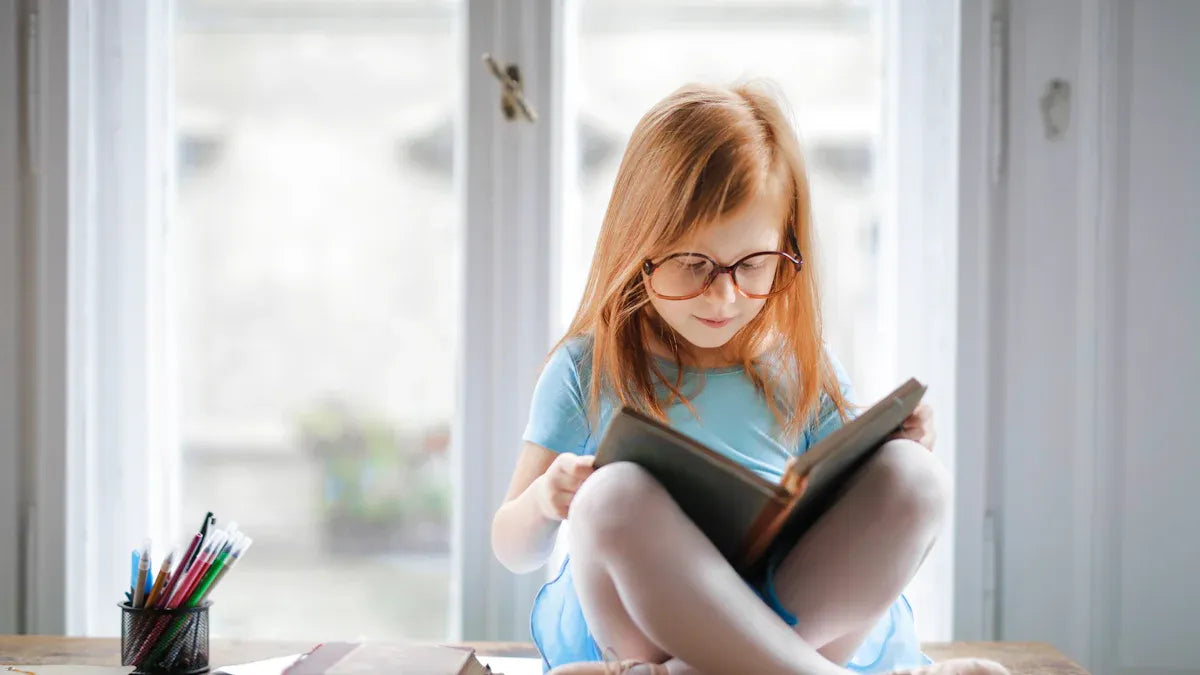
Puedes decorar superficies divertidas como papel, espejos y piedras. También puedes colorear plastilina con marcadores de clic . A los niños les encantan los colores brillantes y el diseño retráctil . No se pierden las tapas, así que pueden imaginar con libertad. Los marcadores lavables te ayudan a concentrarte en tu creatividad. Puedes explorar el arte y probar nuevas ideas. ¡Cada actividad se convierte en una obra maestra y estimula tu imaginación!
|
Característica |
Descripción |
|---|---|
|
Diseño retráctil |
No se pierden las tapas, por lo que los niños las utilizan fácilmente. |
|
Propiedades lavables |
La limpieza es rápida, por lo que los padres se sienten relajados. |
Conclusiones clave
-
Los marcadores de clic ayudan a los niños a mostrar su creatividad en diversas superficies, como papel, piedras y tela. Cada proyecto se vuelve especial y diferente.
-
Los marcadores lavables facilitan la limpieza. Los niños pueden crear sin preocuparse por ensuciar.
-
Decorar cosas como bolsas de tela y loncheras permite a los niños hacerlas únicas . Les ayuda a usar mejor las manos y a mostrar quiénes son.

Superficies divertidas para niños
¡Tienes muchísimas superficies divertidas para probar con rotuladores! Veamos algunos de los mejores lugares para dar rienda suelta a tu creatividad.
Papel
El papel es una opción clásica para los rotuladores de puntos. Puedes tomar una hoja y empezar a crear patrones, garabatos o incluso letras grandes y llamativas. Los rotuladores de puntos se deslizan con suavidad, lo que te permite obtener puntos brillantes siempre. Prueba a pegar cartulina a la pared para crear tu propia pared de arte. Esto convierte cualquier habitación en una mini galería. Si quieres menos desorden, usa rotuladores de puntos lavables . Se limpian rápido y mantienen tu espacio ordenado.
Cartulina
La cartulina es más gruesa que el papel normal. Se mantiene bien con rotuladores. Puedes crear tarjetas de felicitación, marcapáginas o incluso letreros pequeños. Los rotuladores no traspasan, así que tus diseños se mantienen nítidos. La cartulina es perfecta para proyectos en grupo o manualidades en clase. Incluso puedes usar rotuladores para decorar cajas o crear formas divertidas.
Ventanas
Las ventanas ofrecen una superficie transparente y atractiva para los rotuladores. Puedes dibujar arcoíris, animales o caras graciosas. Los colores se ven brillantes a la luz del sol. Usa siempre rotuladores lavables en las ventanas. Al terminar, simplemente límpialas con un paño húmedo. Esto convierte a las ventanas en una de las superficies más divertidas para crear arte rápidamente.
Espejos
¡Los espejos reflejan tu arte y tu sonrisa! Los rotuladores de puntos también son una buena opción. Puedes calcar tu reflejo o añadir sombreros y gafas divertidos. Usa rotuladores de puntos fáciles de lavar. Limpiar es sencillo, así que puedes probar nuevas ideas a diario. Los espejos, al igual que las ventanas, se convierten en superficies divertidas para los rotuladores de puntos y estimulan tu creatividad.
Consejo: También puedes probar rotuladores de puntos en pizarras, piedras o incluso palos para crear superficies más divertidas. Cada uno te ofrece una nueva forma de jugar y crear.
Pizarras blancas
Las pizarras blancas convierten cualquier habitación en un espacio creativo . Puedes usar tus marcadores y empezar a dibujar al instante. ¿Errores? ¡No hay problema! Simplemente límpialos y vuelve a intentarlo. Esto hace que las pizarras blancas sean perfectas para niños que quieren experimentar y divertirse.
Juegos de dibujo
Los juegos de dibujo en pizarras blancas estimulan tu imaginación. Puedes jugar a clásicos como el Pictionary o crear tus propios juegos de adivinanzas. Intenta dibujar un animal gracioso y deja que tus amigos adivinen qué es. También puedes crear laberintos, unir los puntos o incluso diseñar tus propias tiras cómicas. ¿Lo mejor? Nunca te quedas sin espacio. Simplemente borra y empieza de cero.
Consejo: Usa diferentes colores para que tus dibujos destaquen. Los marcadores de clic facilitan cambiar de tono sin perder las mayúsculas.
Al usar marcadores de clic en pizarras blancas, no solo te diviertes. También:
-
Exprésate libremente y potencia tu creatividad .
-
Preocúpate menos por cometer errores ya que puedes borrarlos.
-
Practica el dibujo y la escritura, lo cual ayuda a tu memoria.
-
Juega con amigos y aprende a trabajar en equipo.
Actividades grupales
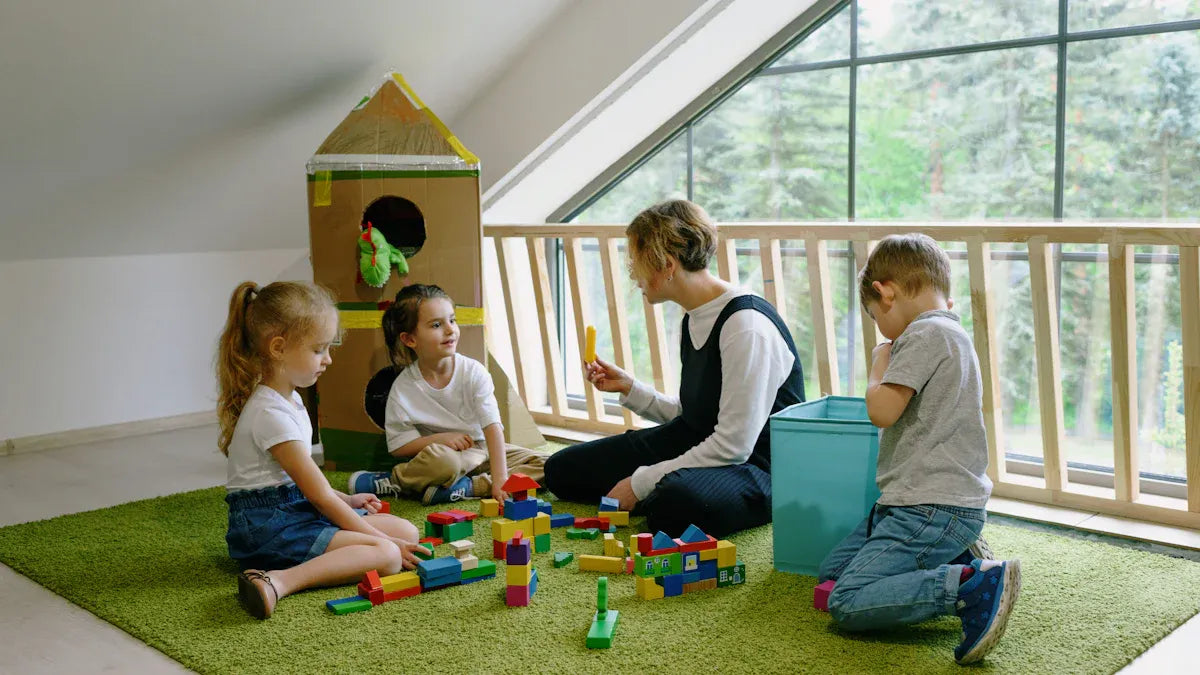
Las pizarras blancas son ideales durante las actividades grupales. Pueden trabajar juntos en dibujos grandes o resolver rompecabezas en equipo. Intenten hacer un mapa gigante de historias o un mural grupal. Todos tienen su turno para aportar sus ideas. Esto les ayuda a practicar el compartir y hablar con los demás.
También desarrollas confianza al ver tus ideas expuestas. A los profesores les encanta usar pizarras blancas para las clases grupales porque todos pueden participar. Aprendes a escuchar, compartir y crear juntos. ¡Las pizarras blancas hacen que cada proyecto grupal sea más emocionante!
Rocas
Diversión al aire libre
Puedes convertir cualquier espacio al aire libre en un estudio de arte con piedras y marcadores de clic. Toma un puñado de piedras lisas de tu jardín o de un parque. Podrás explorar colores y patrones directamente en el lienzo de la naturaleza. Al decorar piedras, usas tanto las manos como la imaginación. Te agachas para recoger piedras, caminas para encontrar las mejores y luego usas los dedos para sujetarlas y colorearlas. Esto te ayuda a desarrollar la motricidad gruesa y fina .
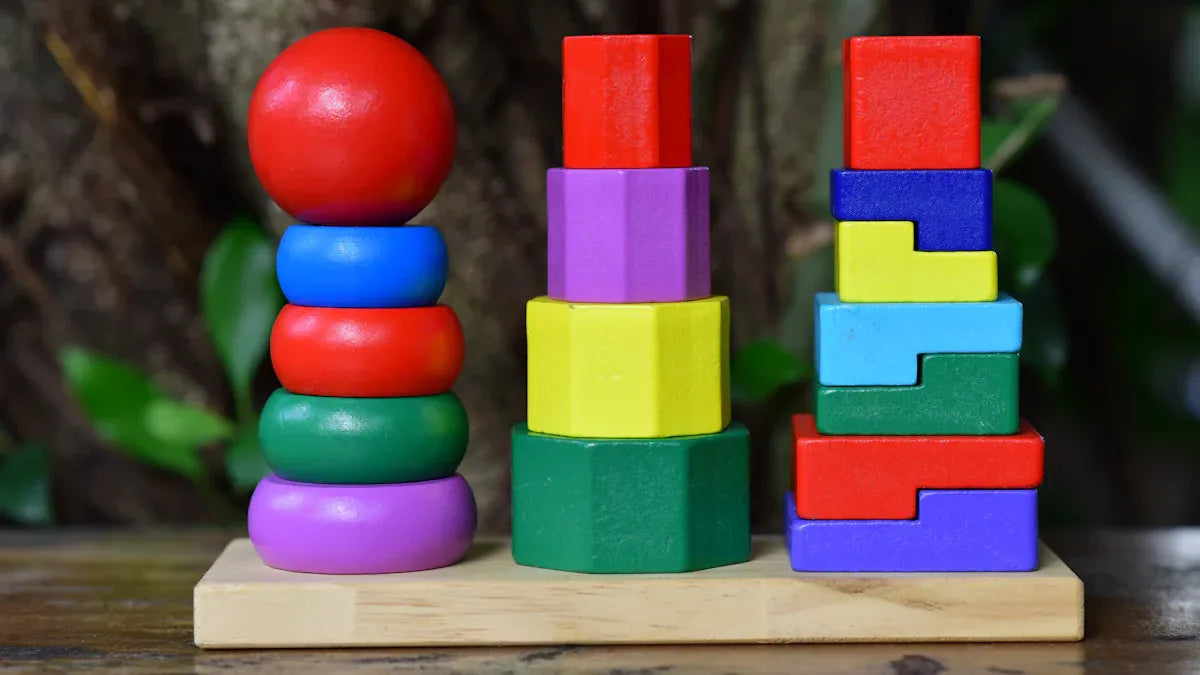
Decorar piedras te permite probar nuevos diseños. Puedes dibujar caritas felices, animales o incluso tu emoji favorito. A veces, puedes apilar piedras para formar una torre. Este sencillo juego potencia tu coordinación ojo-mano y tu capacidad para resolver problemas. También puedes ir a buscar piedras. Clasifica tus hallazgos por tamaño, color o forma. Esto convierte un paseo en una divertida lección sobre clasificación y categorización.
Consejo: Usa rotuladores lavables para que puedas cambiar tus diseños cuando quieras. ¡Solo enjuaga las piedras y empieza de nuevo!
Compartiendo proyectos
El arte rupestre es aún más divertido cuando lo compartes. Puedes crear un jardín de rocas en tu patio o en la escuela. Invita a tus amigos o familiares a participar. Cada uno aporta su propio estilo y juntos crean una exhibición colorida. Este tipo de proyecto te ayuda a conectar con los demás y a sentirte parte de un equipo.
Al decorar piedras y colocarlas por tu vecindario, transmites alegría. Los vecinos podrían ver tus creaciones y sonreír. A veces, la gente añade sus propias piedras decoradas a tu jardín. Esto fomenta un sentido de comunidad y anima a todos a ser creativos. También aprendes sobre responsabilidad al ayudar a cuidar el jardín de piedras.
-
Decorar rocas puede ayudarte a:
-
Practique habilidades matemáticas tempranas clasificando y contando.
-
Desarrolla habilidades artísticas y exprésate.
-
¡Los proyectos de rock unen a las personas y hacen que el tiempo al aire libre sea aún más especial!
Artículos de madera
Bloques
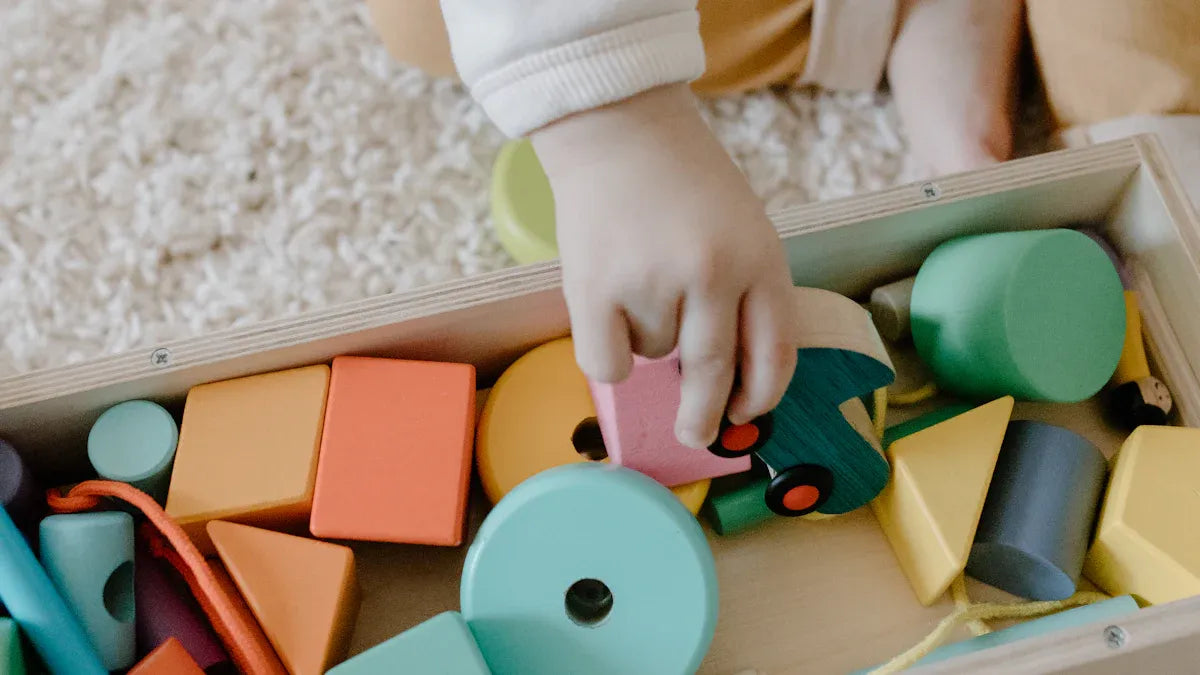
Los bloques de madera te dan un lienzo en blanco para tu imaginación. Puedes tomar un puñado y empezar a decorar cada lado con tus marcadores. Dibuja caras, números o incluso animalitos. Intenta hacer un juego de bloques del alfabeto escribiendo una letra en cada lado. Puedes apilarlos para formar palabras o construir torres con tus amigos.
¿Quieres que tus bloques sean aún más especiales? Usa colores diferentes para cada lado. Puedes crear patrones como rayas o lunares. Si quieres jugar a las combinaciones, dibuja formas o símbolos y descubre si puedes encontrar las parejas. Los marcadores de clic funcionan bien en superficies lisas de madera, y la tinta lavable te permite cambiar tus diseños cuando quieras.
Consejo: Limpia los bloques con un paño húmedo antes de empezar. Esto ayuda a que los colores se adhieran mejor y mantiene tu obra brillante.
Marcos
Los marcos de fotos convierten tus obras de arte en un recuerdo. Puedes decorar un marco de madera sencillo con rotuladores de clic para que combine con tu habitación o para regalar. Prueba a dibujar flores, estrellas o tus personajes favoritos de dibujos animados en los bordes. Añade tu nombre o una fecha especial para darle un toque personal.
También puedes usar marcos para proyectos en grupo. Cada persona decora un rincón y juntos crean una obra maestra. Al terminar, añade una foto o un dibujo. Tu marco se convierte en un recuerdo que puedes exhibir o compartir.
-
Los marcos decorativos te ayudan a:
-
Practica la motricidad fina
-
Muestra tu creatividad
-
Haz regalos para familiares y amigos.
-
🖼️ ¡Los artículos de madera como bloques y marcos te permiten convertir objetos cotidianos en tesoros coloridos!
Tela
Bolsas de mano
Las bolsas de tela te brindan un lienzo en blanco que puedes llevar a todas partes. Elige una bolsa de algodón o lona y empieza a decorar con tus rotuladores . Puedes dibujar tus animales favoritos, escribir tu nombre o crear estampados geniales. ¿Lo mejor? Podrás presumir de tu arte cada vez que uses la bolsa.
Consejo: Para diseños más brillantes, usa rotuladores con punta de pincel. Se deslizan con suavidad y no tiran de la tela.
Si quieres que tu obra de arte dure más, deja que la bolsa se seque por completo. A veces, puedes planchar el diseño (con la ayuda de un adulto) para fijar los colores. La mayoría de los marcadores de clic funcionan mejor en algodón o lienzo. Comprueba siempre si tus marcadores son lavables y aptos para la lavadora. Así, tu bolsa se mantendrá brillante incluso después de lavarla.
Decorar bolsas de tela te permite experimentar y probar nuevas ideas. No necesitas seguir pasos. Simplemente explora y observa qué sucede. Este tipo de arte abierto te ayuda a expresarte y a sentirte orgulloso de tu trabajo.
Camisetas
Las camisetas se convierten en obras maestras con marcadores de clic. Puedes diseñar una camiseta para un evento especial o simplemente por diversión. Dibuja una carita feliz, tu frase favorita o un estampado atrevido. Tú decides qué dice tu camiseta sobre ti.
-
Elija camisas de algodón suave para obtener mejores resultados.
-
Deje que su camisa se seque antes de usarla o lavarla.
-
Utilice marcadores que sean seguros para las telas y la ropa .
Al decorar camisetas, desarrollas la motricidad fina dibujando y coloreando. También practicas la planificación y la resolución de problemas al decidir dónde colocar cada diseño. Sobre todo, puedes expresar tus sentimientos e ideas de forma visible para todos.
Crear tu propia camiseta o bolso de mano es más que solo diversión. ¡Te ayuda a crecer como artista y como persona!
Contenedores de plástico
Etiquetas
Los contenedores de plástico están por todas partes en tu vida diaria. Los usas para refrigerios, materiales de arte o incluso pequeños tesoros. Los marcadores de clic hacen que etiquetar estos contenedores sea súper divertido y fácil. Puedes escribir tu nombre, dibujar tu animal favorito o agregar un diseño genial. Tu etiqueta resaltará, así nunca perderás tus cosas en la escuela o el campamento.
Las etiquetas personalizadas no solo son bonitas. Te ayudan a identificar tu envase en un comedor o aula concurrida. Puedes elegir diferentes estilos, imágenes y fuentes. Esto hace que tu etiqueta sea única.Las etiquetas impermeables son ideales para envases y botellas de almuerzo . Se mantienen brillantes y transparentes, incluso después de lavarlas en el lavavajillas.
Consejo: Prueba a usar colores diferentes para cada envase. Puedes combinar la etiqueta con el contenido o elegir tus tonos favoritos.
Loncheras
Tus loncheras se convierten en pequeñas galerías de arte con rotuladores. Puedes decorar el exterior con tu nombre, dibujos divertidos o incluso un chiste para que la hora del almuerzo sea más emocionante. Tu lonchera se vuelve única. Tus amigos sabrán que es tuya al instante.
Los marcadores de clic se deslizan suavemente sobre la mayoría de las superficies de plástico. La punta retráctil te permite decorar donde quieras, así que nunca pierdes la tapa. Si quieres cambiar el diseño, simplemente límpialo y vuelve a empezar. La tinta lavable facilita la limpieza.
-
Dibuja una imagen nueva cada semana.
-
Añade recordatorios o notas positivas para ti.
-
Crea diseños a juego con tus amigos.
Decorar recipientes de plástico y loncheras te ayuda a mantenerte organizado y a expresar tu estilo. ¡Puedes lucir tu creatividad todos los días!

Cartulina
Fuertes
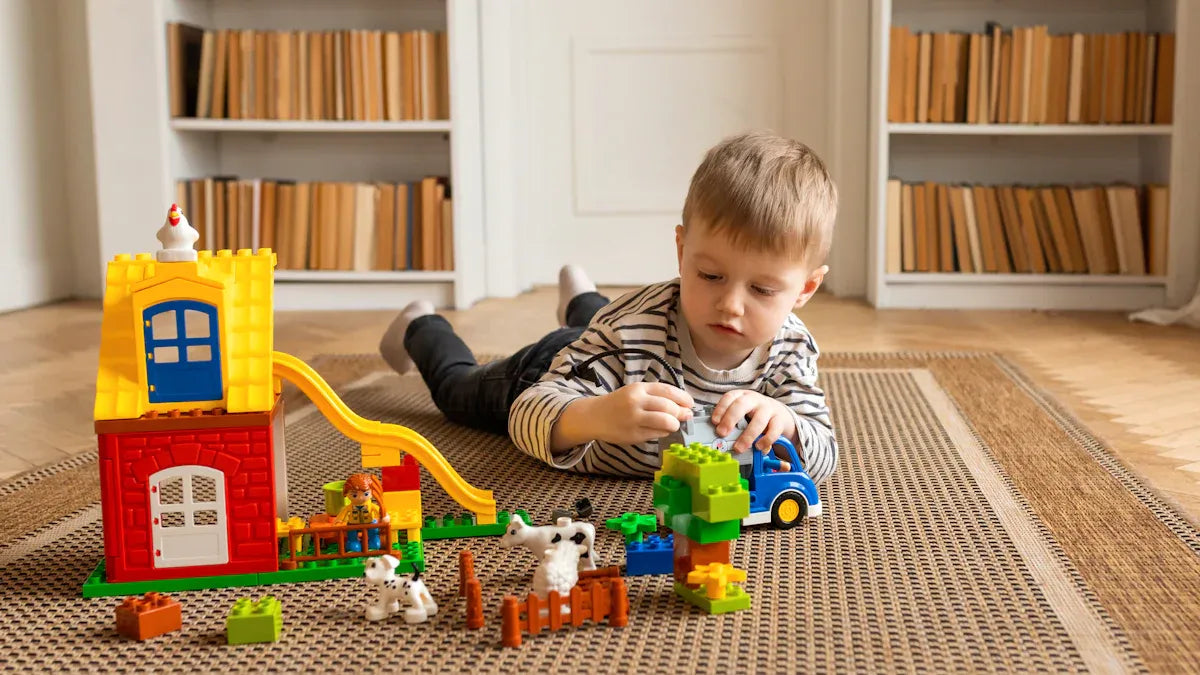
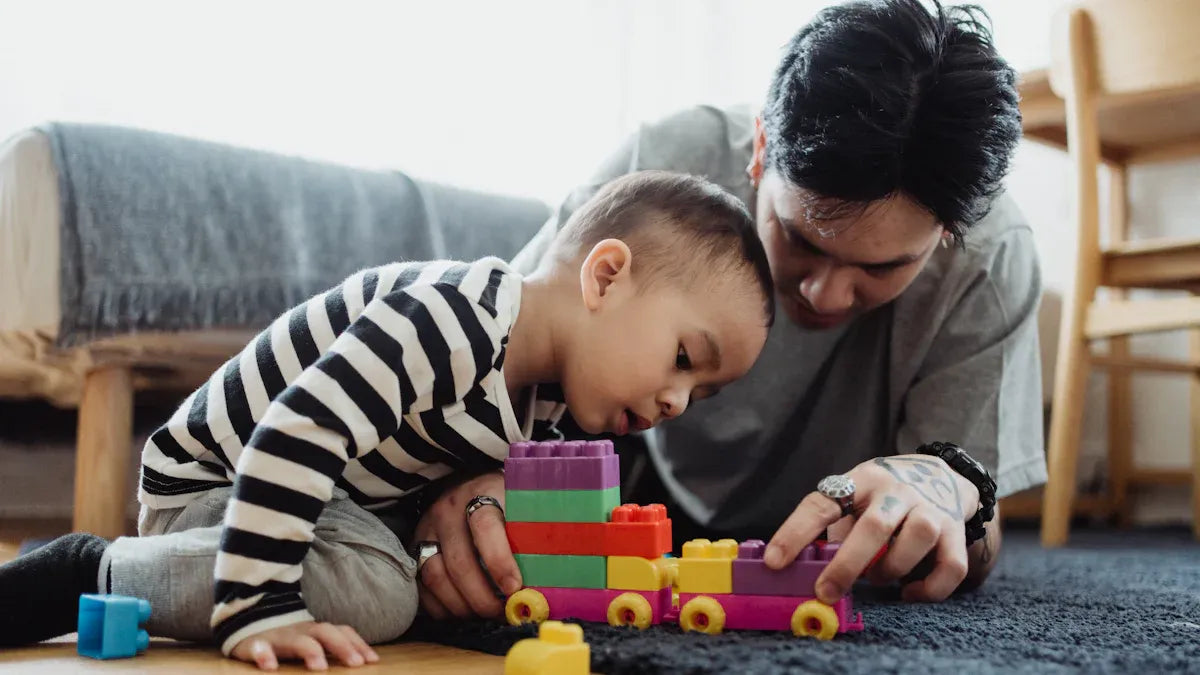
Puedes convertir una caja grande de cartón en tu propio fuerte secreto. Coge tus marcadores de clic y empieza a decorar las paredes con estampados atrevidos, caras graciosas o incluso tus superhéroes favoritos. El cartón es fácil de encontrar y no cuesta mucho , así que puedes usar tantas cajas como quieras. Al construir un fuerte, puedes planificar cómo se sostiene y decidir dónde va la puerta. Esto te ayuda a practicar la resolución de problemas. Quizás necesites cortar ventanas o pegar piezas con cinta adhesiva, lo que desarrolla tu motricidad fina.
Los fuertes de cartón te dan un espacio para imaginar y explorar. Puedes imaginar que estás en un castillo, una nave espacial o una cabaña en la jungla. Este tipo de juego de simulación fomenta tu creatividad y te permite experimentar con diferentes historias.
Construir un fuerte con amigos o hermanos te enseña a trabajar en equipo. Intercambian ideas, comparten tareas y se ayudan mutuamente. ¡Eso es trabajo en equipo en acción! También pueden levantar y mover cajas, lo que fortalece sus músculos.
-
El cartón es perfecto para:
-
Diversión en grupos de diferentes edades
-
Creando algo nuevo cada vez
Casas de juegos
Una casa de juegos de cartón es como un lienzo en blanco para tus grandes ideas. Puedes dibujar ventanas, puertas, flores o incluso un buzón con tus marcadores de clic. Quizás quieras convertir tu casa de juegos en una tienda, una escuela o un pequeño pueblo. Al diseñar y construir tu propia casa de juegos, usas tu imaginación y aprendes a planificar.
Puedes invitar a tus amigos a unirse y crear una aldea de cartón. Todos pueden decorar su propia casa y jugar juntos. Esto te ayudará a practicar la narración e incluso las matemáticas si juegas al tendero o montas una cafetería imaginaria.
-
Las casitas de cartón te permiten:
-
Personaliza tu espacio
-
Contar historias e inventar nuevos juegos
-
Con el cartón, tienes infinitas oportunidades para crear, decorar y jugar. ¡Tus ideas hacen que cada caja sea especial!
Ollas de cerámica
Arte vegetal
Las macetas de cerámica te ofrecen una forma original de mostrar tu creatividad . Puedes convertir una maceta sencilla en una obra de arte para tu planta favorita. Toma tus rotuladores y empieza a dibujar flores brillantes, caritas graciosas o incluso tu nombre. La superficie lisa de una maceta de cerámica realza tus colores. Puedes usar diferentes técnicas para que tu maceta destaque.
-
Prueba el decoupage . Recorta formas divertidas en papel de colores y pégalas en la maceta. Esto añade textura y te permite combinar estampados.
-
Usa pintura de tiza para un acabado suave y mate. Pinta primero la maceta y luego dibuja sobre ella con los rotuladores. Si te equivocas, simplemente límpialo y vuelve a intentarlo.
-
Opta por el bloqueo de color . Pega cinta de pintor en la maceta para crear formas llamativas. Colorea cada sección con un marcador diferente. Retira la cinta para ver líneas definidas.
Consejo: Deja secar la maceta antes de colocar una planta dentro. Esto mantendrá tu obra de arte con un aspecto fresco.
Decorar macetas también te ayuda a aprender sobre plantas. Puedes dibujar el tipo de planta en el exterior o añadir instrucciones de cuidado. Tu arte con plantas se convierte en una forma divertida de recordar cómo regar y cuidar a tu amiga verde.
Regalos
Una maceta de cerámica decorada es un regalo muy especial. Puedes personalizarla para alguien especial. Dibuja su animal favorito, escribe un mensaje cariñoso o añade un diseño navideño. Los regalos hechos a mano demuestran que te importan y hacen sonreír a la gente.
Puedes llenar la maceta con una planta pequeña, dulces o incluso materiales de arte. Envuélvela con un listón para darle el toque final. A tu amigo o familiar le encantará un regalo útil y único.
¡Regalar una maceta decorada a mano es una excelente manera de compartir tu creatividad y alegrarle el día a alguien!
Plastilina para colorear con marcadores
Arte sensorial
Colorear plastilina con marcadores es emocionante. Puedes aplastarla, enrollarla y presionarla. Agrega color presionando la punta del marcador sobre la masa. Observa cómo se extiende el color al presionar. Mezcla los colores amasando la masa con las manos. Cada pieza luce diferente y brillante.
Quizás pienses que colorear plastilina es un desastre. Pero los marcadores lavables facilitan la limpieza. El color se queda en la plastilina, no en tus manos. Puedes colorear cuanto quieras. No hay que preocuparse por el desorden. Intenta hacer espirales, puntos o rayas de arcoíris. Cada vez que coloreas, obtienes una nueva experiencia sensorial.
Consejo: Deja secar la plastilina unos minutos después de colorearla. Esto ayuda a que los colores se fijen y te mantiene las manos limpias.
Personalizando creaciones
Colorear plastilina con marcadores ayuda a que tus creaciones destaquen. Dale forma de animales, comida o lo que quieras. Añade detalles con tus marcadores. Dibuja caras, patrones o pequeños accesorios. Puedes mostrar tu creatividad en cada proyecto.
Crear tu propia obra de arte con plastilina es especial. Tú eliges cómo queda cada pieza. Quizás quieras un dinosaurio azul con lunares verdes. O podrías hacer una pizza con ingredientes rojos y amarillos. Los rotuladores te ayudan a dar los toques finales. Al terminar, exhibe tu obra de arte con plastilina o empieza de nuevo con nuevas ideas.
-
Utilice marcadores lavables para colorear de forma segura y sencilla .
-
Deja que tu imaginación guíe la coloración de tu plastilina.
-
Cambia tus diseños cuando quieras.
Colorear plastilina con marcadores te ofrece muchas maneras de jugar y aprender. Explorarás el color, la textura y el diseño en una actividad divertida.
Arte con papel de aluminio y marcadores
Diseños brillantes
Puedes hacer que tu arte brille con papel aluminio y rotuladores. El papel aluminio proporciona una superficie brillante que resalta los colores. Empieza por colocar una hoja de papel aluminio sobre la mesa. Dibuja formas o patrones sencillos con rotuladores permanentes. Estas líneas se mantienen nítidas y no se corren. Después, usa tus rotuladores lavables y rellena los espacios con colores brillantes. Si quieres un efecto de pintura, rocía un poco de agua sobre el papel aluminio. ¡Observa cómo los colores se mezclan y brillan!
A continuación se muestra un vistazo rápido a algunas técnicas que puedes probar:
|
Técnica |
Pasos |
|---|---|
|
Utilice marcadores lavables |
Color sobre papel de aluminio para obtener tonos vibrantes y combinables. |
|
Utilice marcadores permanentes |
Dibuja contornos y detalles que se mantengan nítidos. |
|
Técnica de pulverización |
Rocíe ligeramente el papel de aluminio para ayudar a que los colores se distribuyan y se mezclen. |
|
Método de impresión |
Presione el papel sobre el papel húmedo y despéguelo para revelar una impresión brillante. |
El arte metalizado te permite explorar texturas y formas. Disfrutarás de una experiencia sensorial emocionante y novedosa. La superficie brillante hace que cada diseño luzca especial.
Proyectos fáciles
No necesitas materiales sofisticados para empezar a hacer arte con papel metálico en casa o en el aula. Prueba estos sencillos pasos:
-
Dibuja tu diseño en papel con marcadores permanentes.
-
Colorea un trozo de papel de aluminio con marcadores lavables.
-
Rocíe el papel de aluminio con agua para activar los colores.
-
Presione el papel sobre el papel húmedo y quítelo para ver su impresión.
A los niños les encantan estos proyectos porque les permiten experimentar con colores y patrones. Desarrollan la motricidad fina presionando y coloreando. El arte con papel metálico les anima a probar nuevas ideas y ver resultados inmediatos. Maestros y padres pueden crear una estación de arte con papel metálico para actividades en grupo o para jugar solos. Pueden crear, explorar y divertirse con cada proyecto.
Diversión y beneficios de los marcadores
Creatividad
Cada vez que usas marcadores, te permites ser creativo. Puedes hacer que un espacio en blanco se vea increíble. Prueba nuevos colores y patrones. Podrías crear algo genial y diferente. Los marcadores te ayudan a pensar de nuevas maneras. Puedes hacer dibujos de puntos, letras brillantes o tarjetas navideñas. Cada proyecto te permite encontrar tu propio estilo. Usar marcadores te da confianza. Aprendes a resolver problemas siendo creativo.
Habilidades motoras finas
Los marcadores ayudan a fortalecer los dedos. Practicas sujetarlos y presionarlos. Mover la mano de diferentes maneras te ayuda a dibujar mejor. Dibujar líneas y puntos hace que tus dedos trabajen más. Puedes conectar puntos y crear formas. Estas actividades te ayudan a aprender letras y números. También aprendes a seguir pasos y a prestar atención. El arte con marcadores hace que aprender sea divertido.
Consejo: Trabaja en proyectos de arte con familiares o amigos. Pueden compartir ideas y aprender a trabajar en equipo.

Autoexpresión
El arte te permite expresar tus sentimientos de forma segura. A veces, es difícil hablar de emociones. Dibujar con rotuladores te ayuda a compartir cómo te sientes. Puedes hacer dibujos que muestren felicidad o tristeza. Las actividades artísticas te ayudan a crecer y a sentirte mejor. Aprendes más sobre ti mismo y te sientes orgulloso. Dibujar te ayuda a comprender tu mundo y a compartir tus pensamientos.
|
Beneficio |
Descripción |
|---|---|
|
Los marcadores de puntos te ayudan a concentrarte y prestar atención mientras pintas. |
|
|
Fomentar el reconocimiento de colores |
Aprende los colores usando marcadores de formas divertidas. |
|
Promoviendo el desarrollo emocional |
El arte te permite mostrar sentimientos sin palabras y sentirte bien contigo mismo. |
|
Introducción al juego estructurado |
El arte de puntos te da reglas a seguir y enseña disciplina. |
|
Fomentar el juego independiente |
Los marcadores son fáciles de usar, por lo que puedes tomar tus propias decisiones. |
|
Fomentar la interacción social |
Las actividades de marcadores grupales te ayudan a trabajar y compartir con otros. |
|
Proporcionando valor educativo |
Puedes aprender letras, números, formas y patrones con marcadores. |
|
Versatilidad y conveniencia |
Los marcadores funcionan en muchas superficies, por lo que crear arte es fácil y limpio. |
Dibujar con rotuladores es divertido y te ayuda a aprender cosas nuevas. Puedes mostrar tus ideas, desarrollar habilidades y disfrutar cada momento.
Los rotuladores pueden hacer que cualquier día sea emocionante. Puedes decorar diferentes superficies y mostrar tu arte a tus amigos. Intenta colocar tus creaciones en lugares donde otros puedan verlas. Crear arte en grupo te ayuda a sentirte valiente y a hacer nuevos amigos. Limpiar es fácil, así que puedes seguir divirtiéndote. ¡El arte une a las personas y hace que el aprendizaje sea más divertido!
|
Descripción |
|
|---|---|
|
Proyectos de arte colaborativo |
Trabajemos juntos para hacer arte y conocer gente nueva. |
|
Exhibición de arte en espacios públicos |
Coloca tu arte en lugares como cafeterías para que todos lo vean. |
Preguntas frecuentes
¿Puedo utilizar marcadores de clic en cualquier superficie?
Puedes usar marcadores de clic en muchas superficies, como papel, cartón y piedras. Prueba siempre en una zona pequeña para asegurarte de que se limpien fácilmente.
¿Cómo limpio después de usar marcadores de clic?
Simplemente toma un paño húmedo y limpia la superficie. La mayoría de los marcadores lavables se borran rápidamente, así que dedicas menos tiempo a limpiar y más a crear.
¿Son seguros los marcadores de clic para niños pequeños?
¡Sí! Los marcadores de clic están diseñados para niños. Tienen tinta no tóxica y punta retráctil, así que no tendrás que preocuparte por la pérdida de tapas ni por tu seguridad.